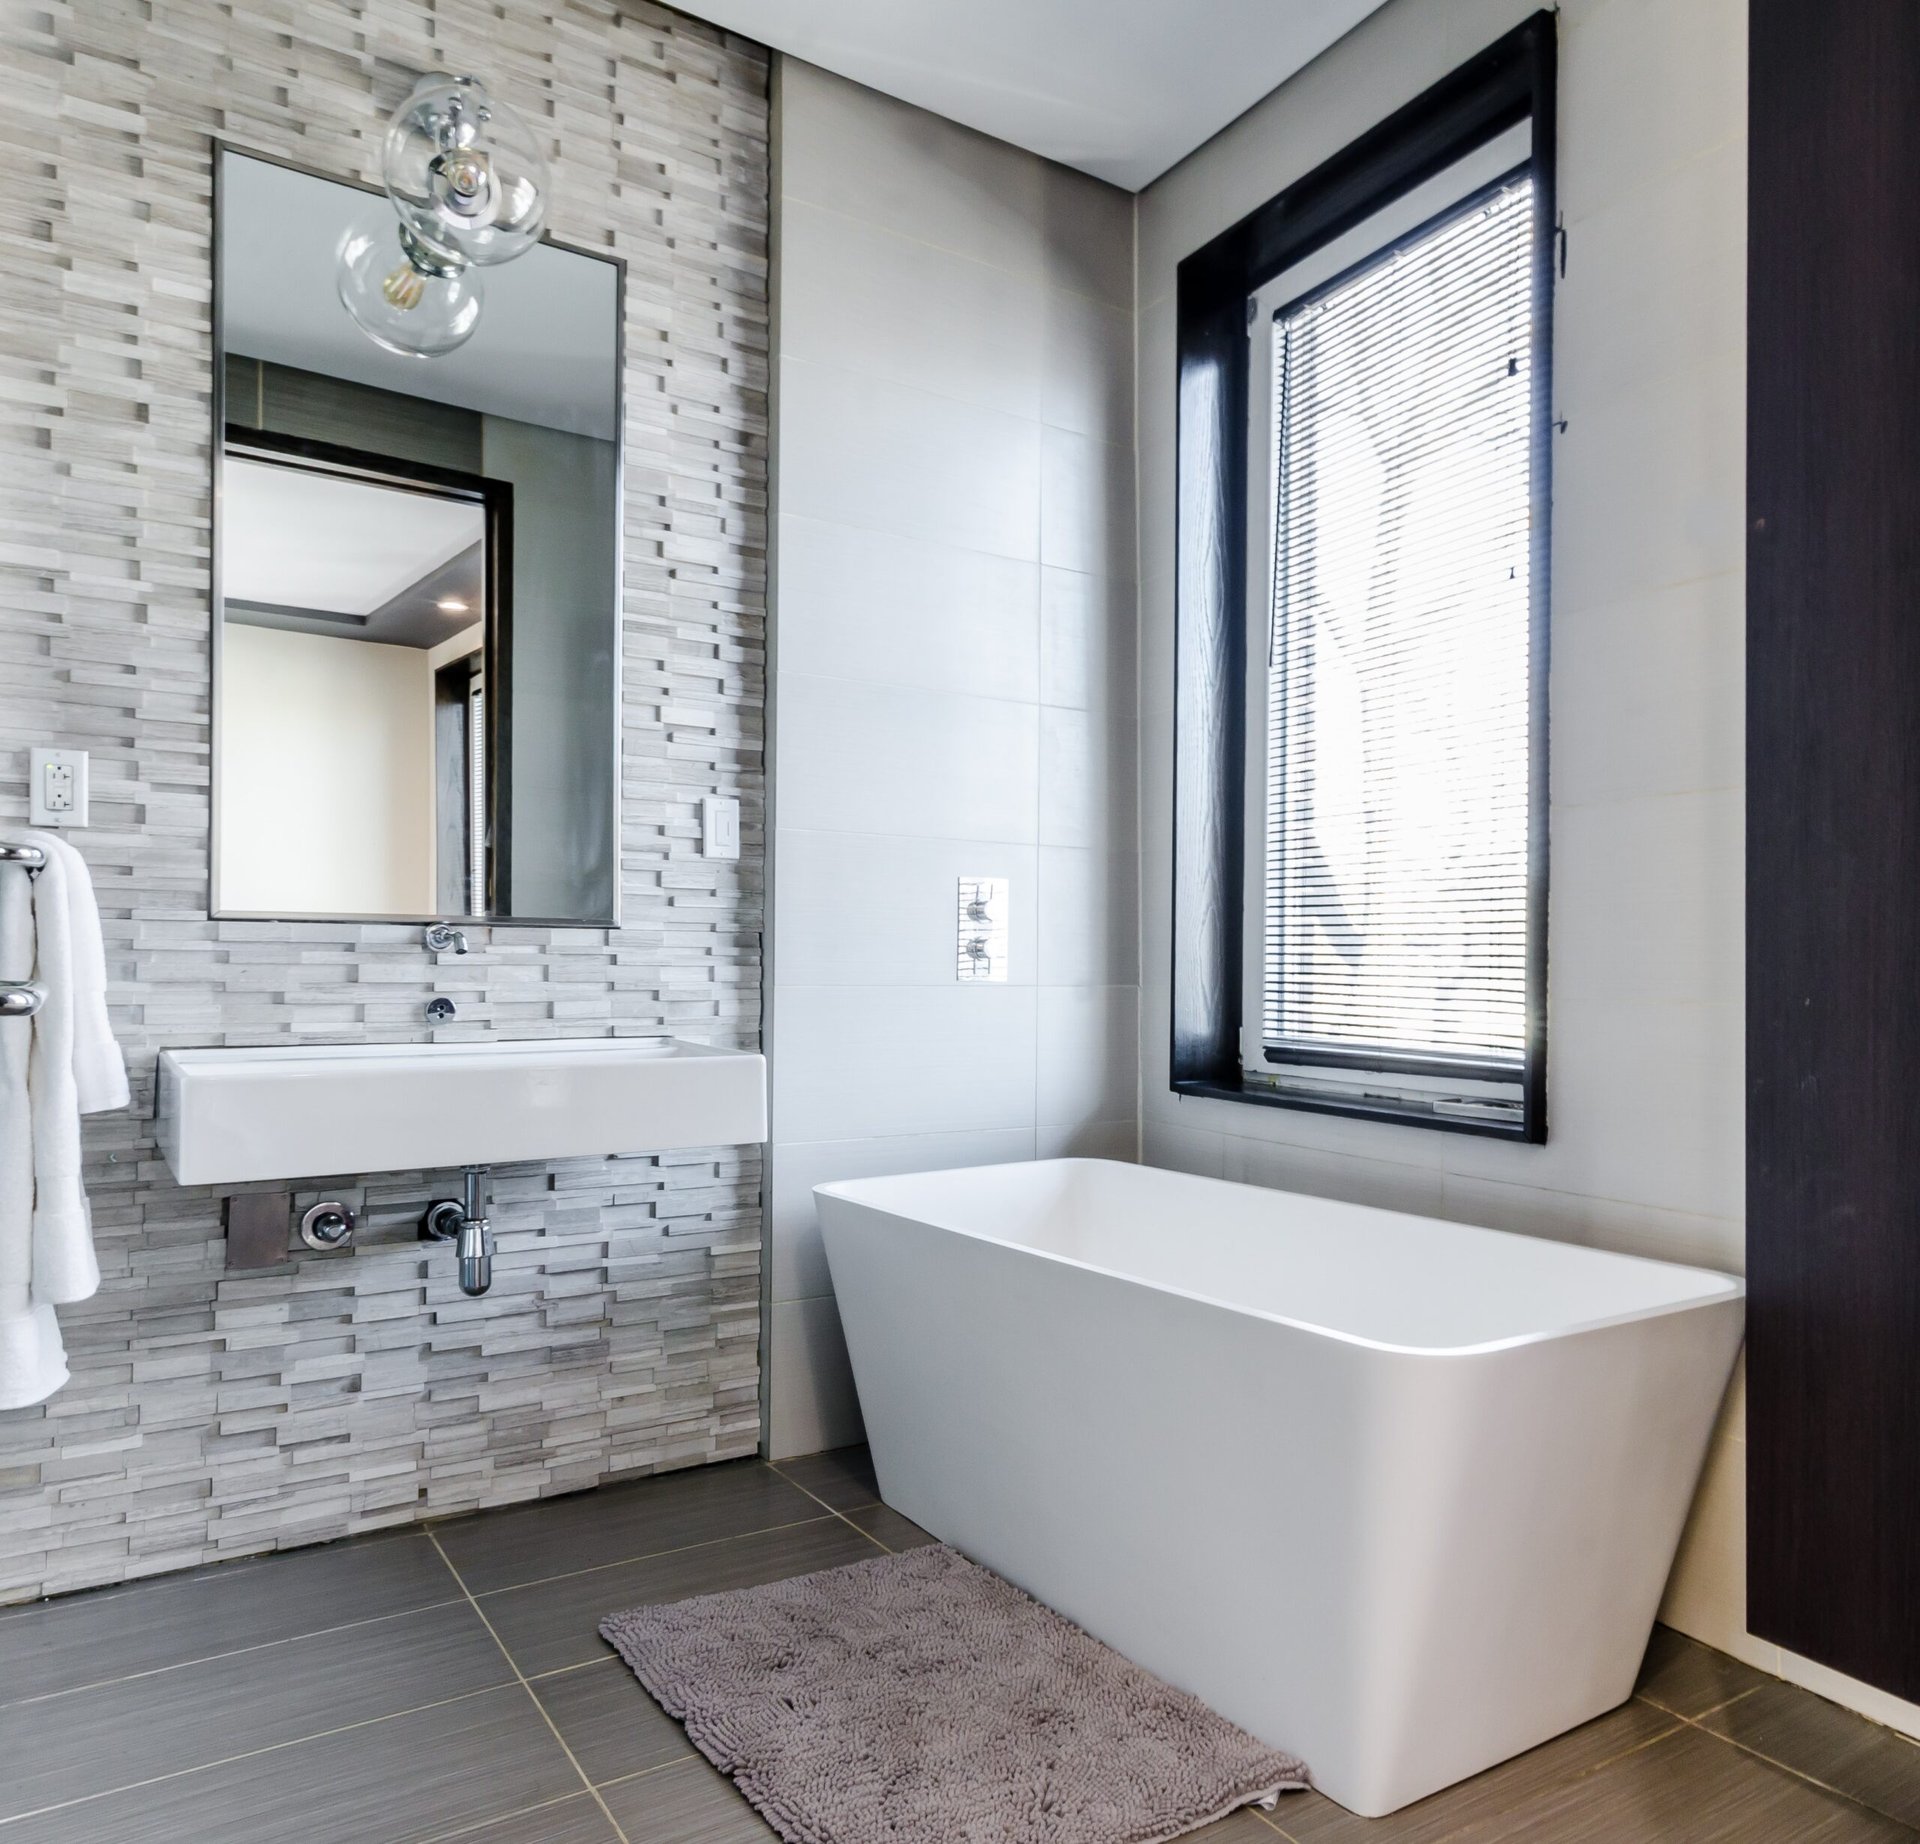
Calculate the square footage of the bathroom, which was 300 square feet of walls, to buy the correct amount of wallpaper. Example: A 300 sq ft. bathroom will use about 6 rolls (56 sq ft. each) of wallpaper.
Materials Needed
- Wallpaper
- Paste brush
- Scissors
- Level
- Adhesive
- Utility blade
- Metal Spatula
- Plastic Spatula
Step 1: Cutting the Paper
Measure from the top to the bottom of the walls and add 2 inches to the top and bottom. Those extra inches will help when you are putting up the wallpaper and matching up the pattern.
Step 2: Drawing the Plumb Line
This is the line you have to draw all the way around the walls to match up the wallpaper evenly. With a level on the wall, draw the width of the wallpaper and the length as well; add one inch to the width.
Step 3: Keeping it Organized
With a pencil, name each strip of wallpaper you cut with a letter from A-Z. This order will make it easier to match up the wallpaper. Make sure you are matching the patterns before you put it up.
Step 4: Pasting Wallpaper
Pour the adhesive in a paint tray. With a clean paintbrush, coat the walls with a thin layer of adhesive. It is easier to work with the width of just one strip of wallpaper at a time, so you don’t have to rush.
Step 5: Putting Up The First Sheet
Start from the top and leave 2 inches on top and match the pattern. With a plastic spatula, smooth out the wallpaper along with soft hands until all the wrinkles are gone.
Step: 6: Cutting The Extra Two Inches On Top
With a sharp utility blade and a metal spatula, place the metal spatula at the edge and run the blade along the spatula so it cannot cut the wallpaper. Do this all the way along the extra paper until it’s all cut off.
Follow this pattern all the way around the bathroom space. If there are walls that are shorter, just cut the strips in half to make it easier to move around.